You have probably seen Black Slate on a roof or on a floor, but have you seen it used as countertops?
Black Slate comes from quite a few places around the world. From New England in the U.S. to Spain and Brazil to England and of course Italy.
Slate isn't the most popular countertop material and it's surprising to me. It's actually a really durable and hard countertop surface.
The absorption rate on slate is even lower than it is on granite! Black Slate does need to be sealed, but I personally have never seen it stain.
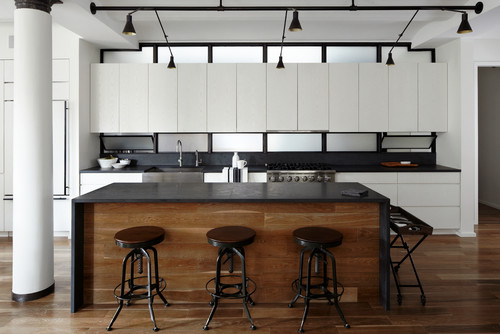
Contemporary Kitchen by Shelter Island Architects & Designers SchappacherWhite Architecture D.P.C.
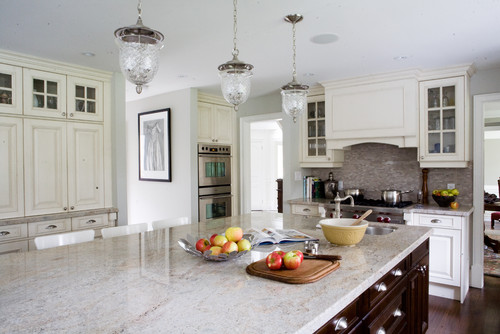
Traditional Kitchen by Libertyville General Contractors Century Bay Builders
Slate is a whole different ballgame for countertops than granite. It scratches pretty easily.
The
first time I ever saw slate countertops was years ago in a home that I
was in bidding some countertops. The slate was in the kitchen and I set
my metal tape measure on the countertop. I kind of slid it when I
picked it up and I look down and there is this white scratch. I totally
freaked out thinking I had ruined these countertops! The lady was
really nice and showed me how by getting it wet the scratch went away. Whew! ;)
Deep scratches can also be buffed out by the homeowner using steel wool.
Slate is not a smooth and shiny surface in the first place but you just need to know beforehand how soft it is.
Black Slate is generally honed though it can be polished. It can also be oiled like a Soapstone for a glossier look.

Most people just keep a square edge detail on slate. We have done Mitered and Chiseled edges on slate countertops in the past, it just looks different (obviously) then the same edge on granite.
Black Slate is available in 2 cm and 3 cm slabs.